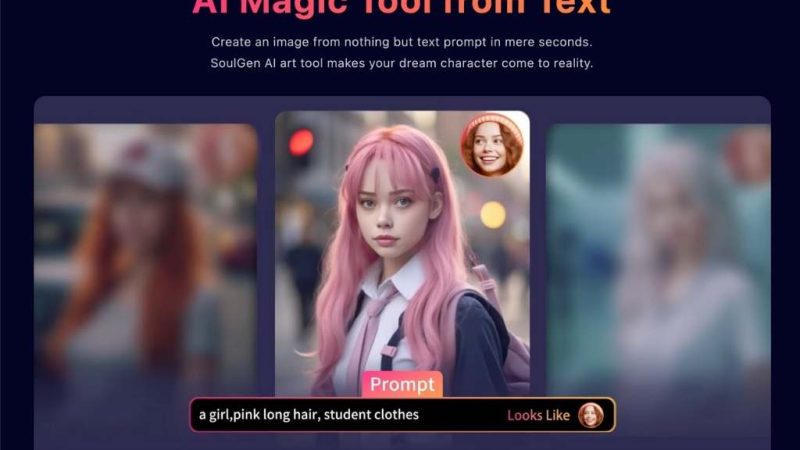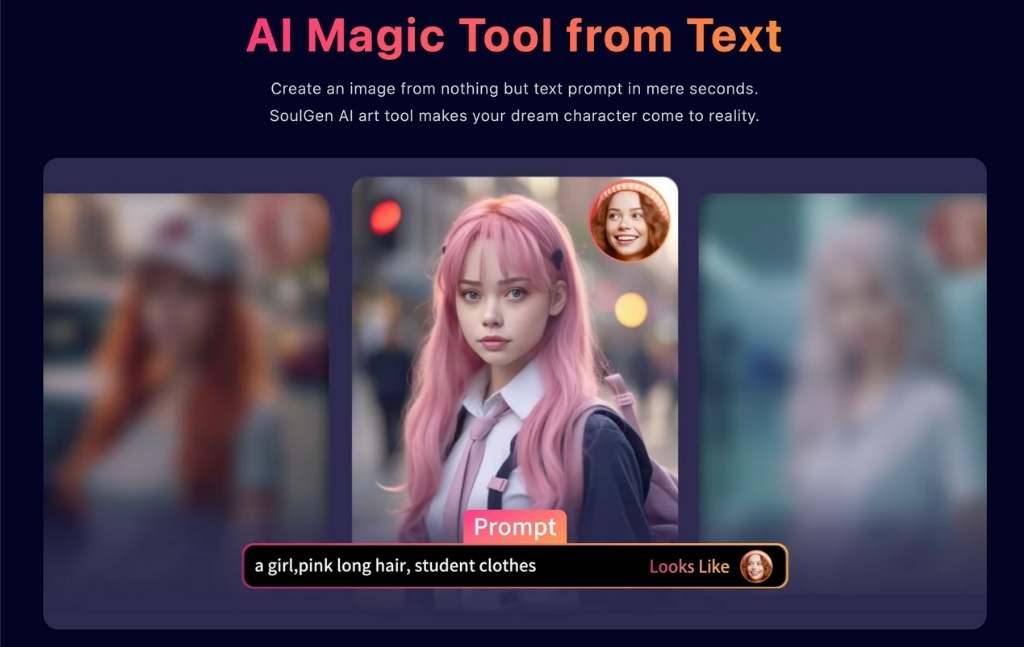
SoulGen is the AI-driven text-to-image generator that focuses on generating anime-style and realistic female characters mainly from text descriptions. Not landscapes. Not logos. Not brand mockups. It knows its lane, and it doesn’t leave that lane.
If you’ve ever said to yourself “My word I wish soul gen had hundreds of sliders” SoulGen is definitely targeted at you.
This is not an all-purpose AI artist’s Swiss army knife. What it’s really like is a very sharp chef’s knife. Narrow application, but when it does work, cuts cleanly.
A comprehensive guide of how to use SoulGen
Step 1: Build Your Character (Mode + Reference + Prompt)
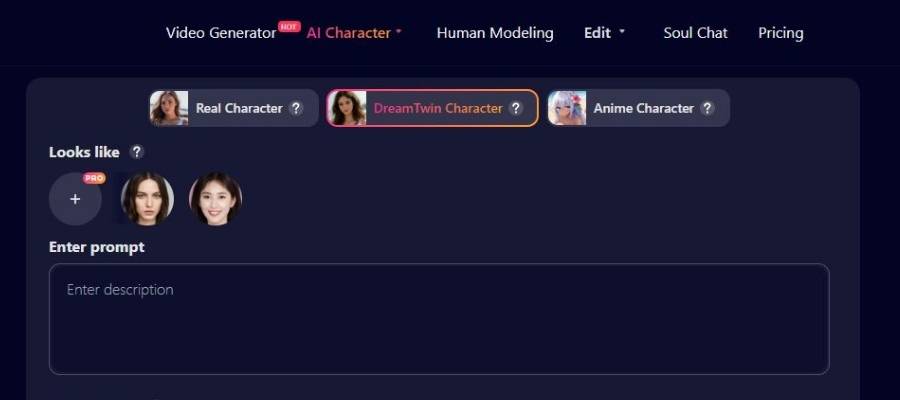
This is the main creation screen where you define what your AI girlfriend will look like.
- A) Top navigation bar (what you can access)
Across the top, you can see site-wide sections:
- Video Generator (HOT)
A separate tool area for generating videos (not part of the 3-step image flow shown, but it’s there in the navigation). - AI Character (with a small dropdown indicator)
You’re currently inside this category. - Human Modeling
Likely another workflow focused on body/pose/modeling features. - Edit (dropdown)
Usually where image editing tools live (inpainting, background edits, upscaling, etc.). - Soul Chat
A chat feature-possibly for interacting with the character or generating roleplay-style content. - Pricing
Where plans/credits live.
You don’t need to click any of these to complete the 3-step generation, but it’s helpful to know where things are.
- B) Choose the character type (tabs)
Under the nav, you have three prominent tabs:
- Real Character
- DreamTwin Character (selected in your screenshot)
- Anime Character
This selection is huge. It affects how your prompt is interpreted and what kind of visuals you’ll get.
| Tab | Output Style | Prompt Tips |
| Real Character | Photoreal / human-like | Use camera/lighting words |
| DreamTwin Character | “Idealized” realistic character vibe | Mix realism + aesthetic cues |
| Anime Character | Stylized anime illustration | Use anime style descriptors |
What “DreamTwin Character” typically implies: a curated “AI girlfriend” look-more dreamy, polished, and “designed,” compared to strict realism.
- C) “Looks like” reference panel (face guidance)
On the left side, there’s a section labeled:
- “Looks like” with a “?” icon
(again, likely help text explaining what this does)
Under it, you see:
- A plus (+) tile with a small “PRO” badge
- Two example face thumbnails to the right
What this means in practice:
- The Looks like area is a reference/identity guide-you can supply reference faces (or pick presets) so the generated character resembles that look.
- The “+” tile suggests adding more reference images is a PRO feature.
How to use it
- If you’re on a free plan: you may be limited to fewer reference faces.
- Click the face thumbnails to select a look direction (or to set them as references).
- If you have PRO: click the + tile to add more “looks like” references.
Pro tip: If you want consistency (same “girlfriend” look across many generations), this “Looks like” feature is one of the most important tools on the page.
- D) Prompt box (this is where your character is defined)
You’ll see:
- Enter prompt
- A large text field with placeholder text: “Enter description”
This is where you write what you want.
A practical prompt structure that works well
Use a “stack” like this:
- Core identity: age, vibe, personality aesthetic
- Appearance: hair, eyes, skin tone, face shape
- Outfit: clothing, colors, accessories
- Scene: background, location, time of day
- Camera/lighting: portrait, soft light, lens, bokeh (especially for Real/DreamTwin)
Here’s a template:
| Prompt Part | Example (you can copy style, not necessarily words) |
| Identity/vibe | “confident, friendly, cozy vibe” |
| Face/hair | “long chestnut hair, green eyes, soft makeup” |
| Outfit | “cream sweater, simple necklace” |
| Scene | “in a warm cafe, rainy window background” |
| Camera | “portrait photo, soft lighting, shallow depth of field” |
Example prompts (by tab)
DreamTwin Character example:
- “A charming young woman with long black hair and brown eyes, elegant casual outfit, warm smile, cozy indoor lighting, cinematic portrait, high detail.”
Real Character example:
- “Photorealistic portrait of a woman, natural skin texture, soft daylight, 50mm lens look, subtle makeup, simple background.”
Anime Character example:
- “Anime girl with wavy pink hair, big expressive eyes, pastel outfit, clean line art, studio lighting, detailed shading.”
Step 2: Choose Your Style
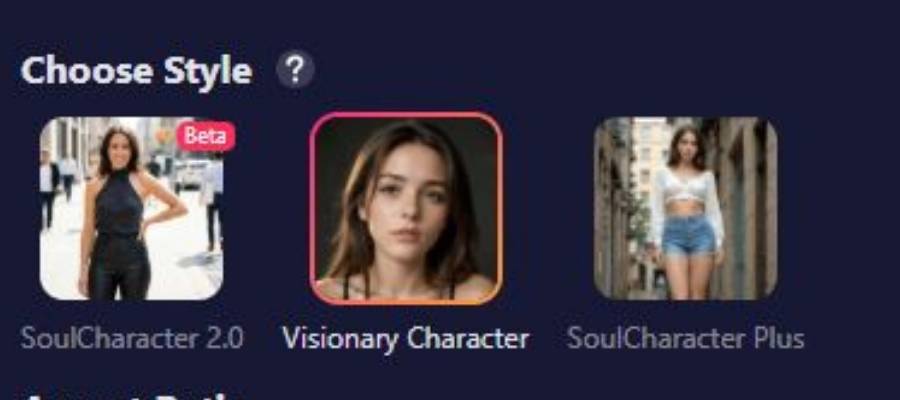
The first screen is the Style selection stage. At the top-left, you’ll see:
- “Choose Style” (heading)
- A small “?” icon beside it (typically opens a tooltip/help pop-up explaining styles)
Under that, there are three style cards (each with an image preview). These are basically “generation modes” that influence the look/quality and often the available tools.
1) SoulCharacter 2.0 (Beta)
- Label: “SoulCharacter 2.0”
- Has a visible “Beta” tag on the preview
- What it usually means: a newer or experimental model/style
- Expectation: may produce cooler results sometimes, but can be less predictable
2) Visionary Character (Selected)
- Label: “Visionary Character”
- In your screenshot, this card has a highlighted border, indicating it’s currently selected
- What it usually means: the “main” or most stable character generator style
3) SoulCharacter Plus
- Label: “SoulCharacter Plus”
- Another style variant-often implies enhanced results or extra options
How to decide which one to pick
Use this quick cheat sheet:
| Style Option | Best For | Tradeoff |
| SoulCharacter 2.0 (Beta) | Experimenting, trying trendy looks | Can be inconsistent |
| Visionary Character | General use, reliable character creation | Less “wild” than beta |
| SoulCharacter Plus | Polished results / upgraded feel | May be more limited or paywalled depending on plan |
What to do here: click one style card (it highlights), then proceed into the generator workspace (your Step 2 screen).
 (Aspect Ratio + Number of Images + Create)
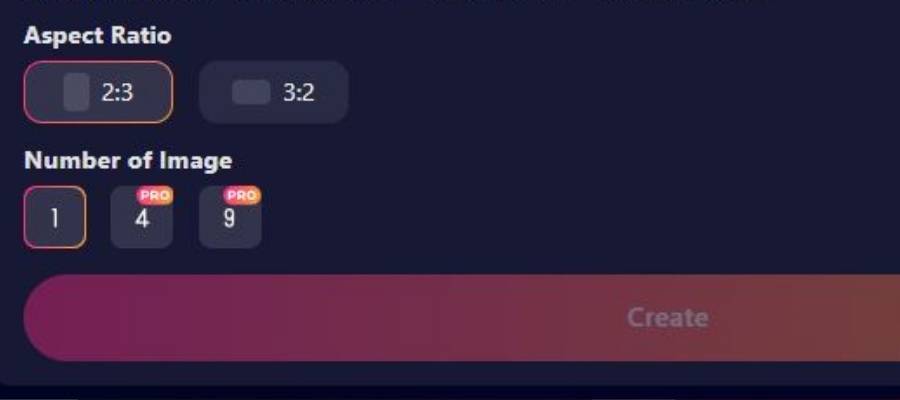
This final screen is where you choose formatting and how many results you want per generation.
- A) Aspect Ratio
You can see:
- 2:3
- 3:2
In your screenshot, 2:3 is highlighted (selected).
What these mean:
- 2:3 → portrait orientation (great for full-body or character posters)
- 3:2 → landscape orientation (better if you want more environment/background)
Use this quick guide:
| Aspect Ratio | Best For |
| 2:3 | Full-body shots, “profile card” portraits, vertical social posts |
| 3:2 | Wider scenes, background-heavy images, cinematic framing |
- B) Number of Image
You can see three buttons:
- 1 (available)
- 4 (marked PRO)
- 9 (marked PRO)
So:
- Free users can generate 1 image at a time
- PRO users can generate 4 or 9 images per run (faster exploration, more variety)
Why multiple images helps: AI generations vary. Getting 4–9 options at once increases the chance you’ll get “the one” without rewriting prompts.
- C) Create button
At the bottom there’s a large Create button.
In your screenshot it looks dim/disabled, which usually means one of these is true:
- You haven’t entered a prompt yet
- You haven’t selected required settings
- You’re out of credits / not logged in / plan restriction
What to do if Create is disabled:
- Go back to Step 2 and ensure your prompt field isn’t empty.
- Confirm you’ve selected a character type (Real / DreamTwin / Anime).
- Check if the plan requires PRO for what you selected (e.g., extra reference faces or multiple images).
How Does It Work?
SoulGen works through text-to-image generation, with optional image referencing. You type what you want, describe the character, style, clothing, vibe, pose—whatever matters to you—and the AI handles the rest.
Behind the scenes, it’s doing the usual AI magic: trained image models, prompt parsing, style matching. But from the user’s perspective, the experience stays refreshingly simple.
Basic flow:
- Write a prompt (casual English works just fine)
- Choose anime or realistic style
- Generate
- Tweak or regenerate until you get that look
No technical gymnastics. No need to pretend you’re an AI engineer.
Core Functionalities
Here’s what SoulGen actually does—without the fluff.
| Functionality | What It Means in Real Life |
| Text-to-Image | Describe a character, get an image |
| Anime Mode | Strong anime aesthetics, clean lines |
| Realistic Mode | Photo-style female portraits |
| Image Reference | Upload an image to guide generation |
| Custom Prompts | Freedom to describe appearance, mood, clothing |
| Regeneration | Try again without starting from scratch |
It doesn’t try to be clever. It tries to be useful.
Key Features (The Stuff That Actually Matters)
- Prompt Understanding (Surprisingly Decent)
You don’t need to speak in stiff AI language. Normal sentences work. Even messy ones. That alone lowers the learning curve massively.
- Focused Output
SoulGen doesn’t dilute itself with dozens of styles it barely supports. The character generation is the product—and it shows.
- Image Reference Upload
This feature quietly does a lot of heavy lifting. Want consistency? Want a similar face across generations? This helps more than you’d expect.
- Speed
Images generate fast enough that you don’t lose your train of thought. That matters more than people admit.
Pros and Cons
Let’s not pretend everything’s sunshine.
Pros
| Strength | Why It Matters |
| Easy to use | No learning curve fatigue |
| Strong anime output | One of its best traits |
| Focused niche | Doesn’t try to be everything |
| Clean UI | You won’t get lost |
| Good prompt flexibility | Feels natural, not rigid |
Cons
| Weakness | Why It Might Annoy You |
| Narrow use case | Not ideal for general AI art |
| Limited male characters | Clearly not the priority |
| Paywall | Free usage is restricted |
| Less control than pro tools | Power users may feel boxed in |
If you want infinite control like Stable Diffusion with custom models, this isn’t your playground. And that’s intentional.
FAQs
Is SoulGen beginner-friendly?
Yes. Almost aggressively so. You can jump in without watching tutorials or Googling prompt formulas.
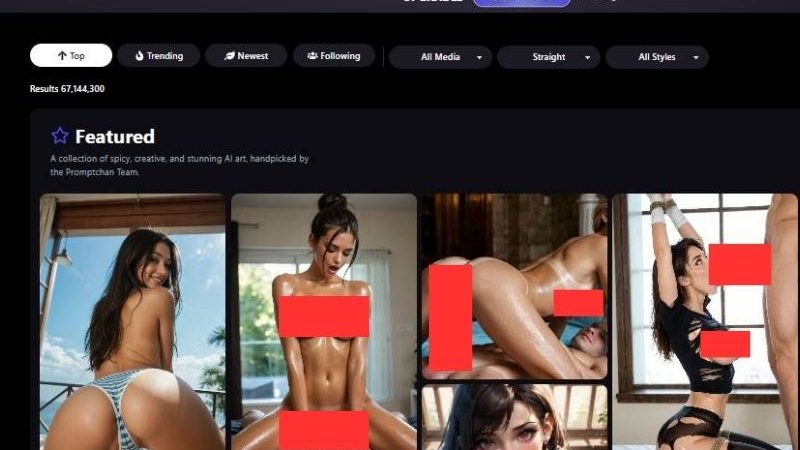
Can it generate NSFW content?
SoulGen leans into mature content more than many mainstream tools, though moderation rules still apply. This is part of its appeal—and also part of its controversy.
Is it good for professional artists?
Depends. For concept inspiration or character drafts, yes. For final production assets, probably not without additional editing.
Does it replace artists?
No. Tools don’t replace taste, storytelling, or intention. It’s a shortcut, not a substitute.
A Quick Comparison (Context Always Helps)
| Tool | Best For | Complexity | Style Focus |
| SoulGen | Female character art | Low | Anime & realistic |
| Midjourney | Artistic visuals | Medium | Broad |
| Stable Diffusion | Full control | High | Anything |
| DALL·E | General creativity | Low | Mixed |
SoulGen sits comfortably in a specific corner, and it doesn’t apologize for it.
My Verdict
SoulGen feels like it was made by human beings who actually have a sense of what users want themselves—as opposed to pretending the opposite.
It does not try to please everybody; and it doesn’t lose time asking everyone to like it. It chooses a direction and it decides.
Is it perfect? No.
Is it flexible? Not especially.
Do you believe that the show is honest about what it is? Absolutely.
If you want to make stylized or realistic female portraits and don’t want to be bogged down by technical sliders, spend half your life finagling with settings & going back & forth on prompts, SoulGen is the one—and it does so with a kind of quiet grace.
It’s not revolutionary. It’s not trying to be.
It’s utilitarian, a little cheeky, and ever conscious of its audience.
And sometimes, that’s just what you need.